Quick Start 🚀
Welcome to OxygenPay! We are thrilled to have you on board with us, as we passionately believe that every business deserves a seamless experience when accepting crypto payments.
In this article, we are excited to guide you through the initial stages of using our platform. With OxygenPay, accepting crypto payments has never been more accessible, and we can't wait to show you how easy it is to get started!
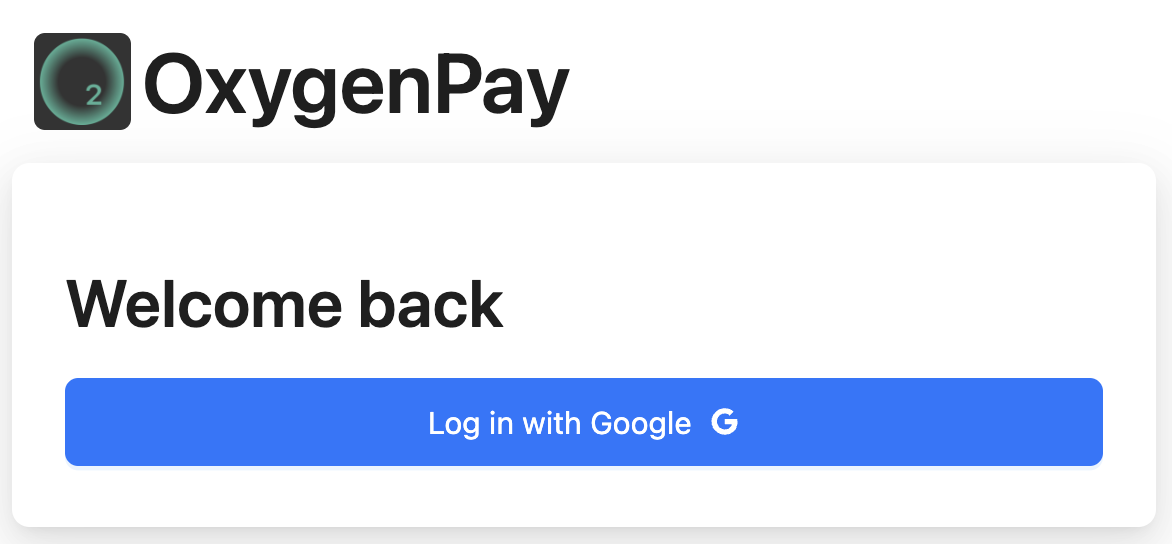
Registration
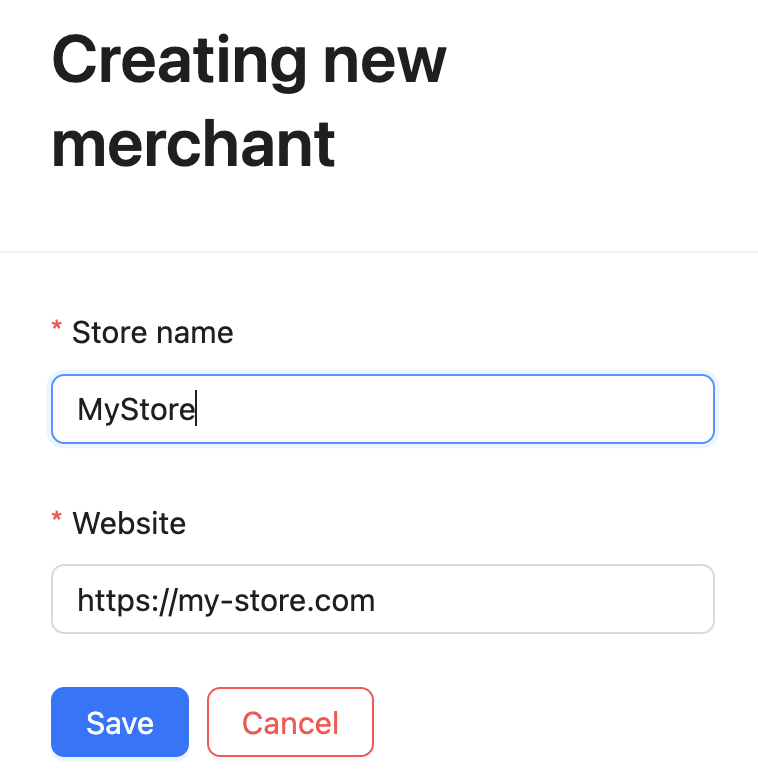
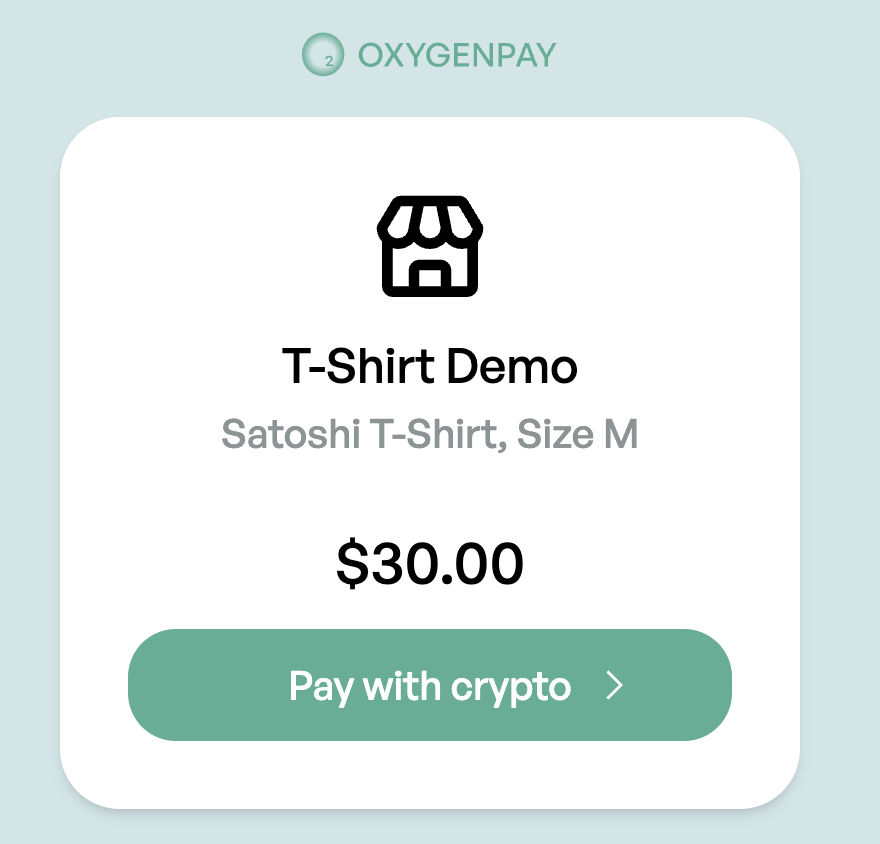
Use "Sign-in with Google" for hassle-free registration. After that you will be asked to create a merchant, then fill name and a website. Name will be visible for your customers in the top of the payment form. You can create as many merchant entities as you want and switch between them in the navbar.
Create your first payment
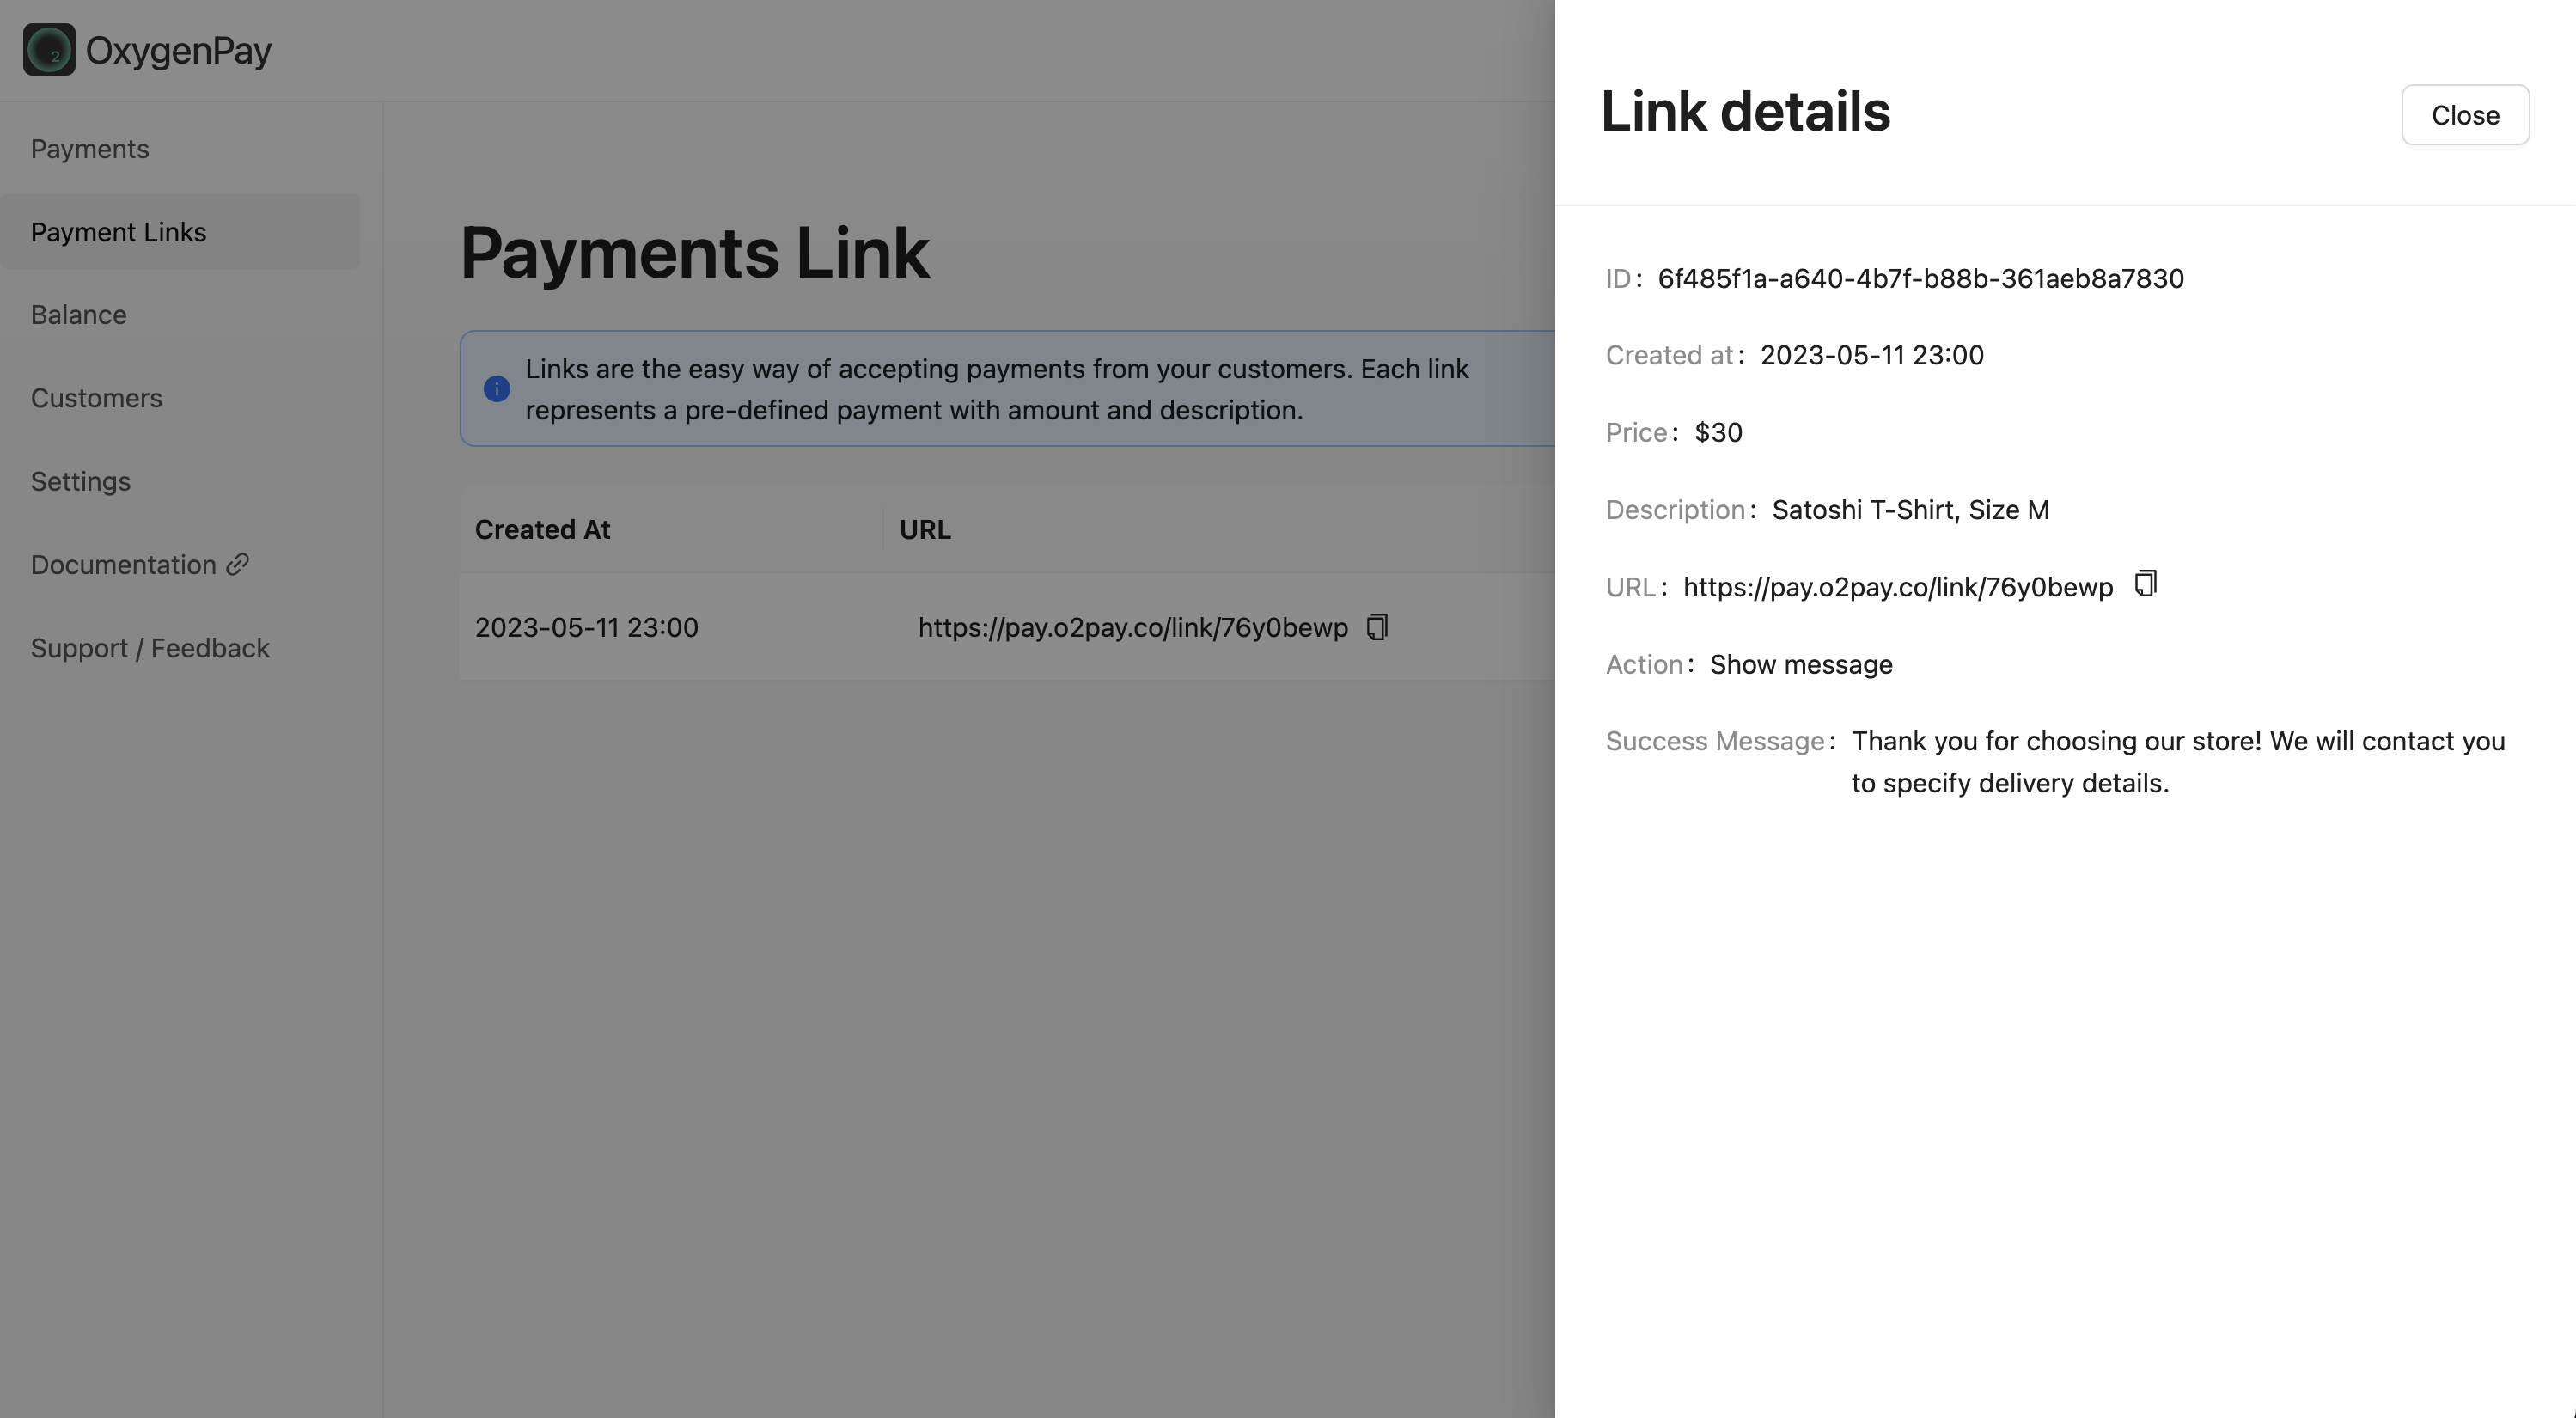
Payment links 🆕
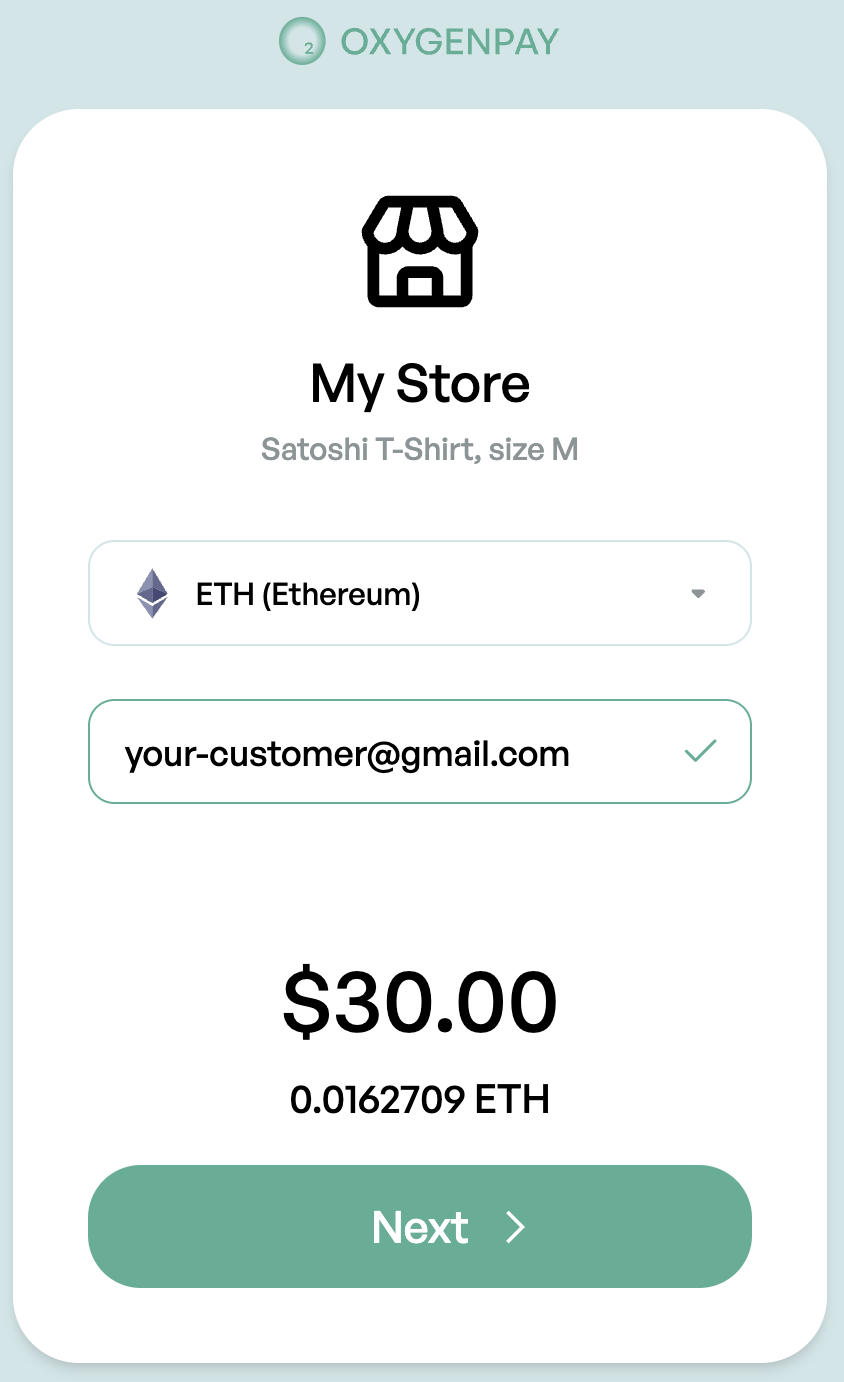
Payment links allow automatic payments creation by forwarding a customer to pre-defined link
e.g. https://o2pay.co/link/<link>. You can also select desired confirmation behaviour:
either redirect user to specified url or showing a message. You can manage link in Dashboard > Payment Links
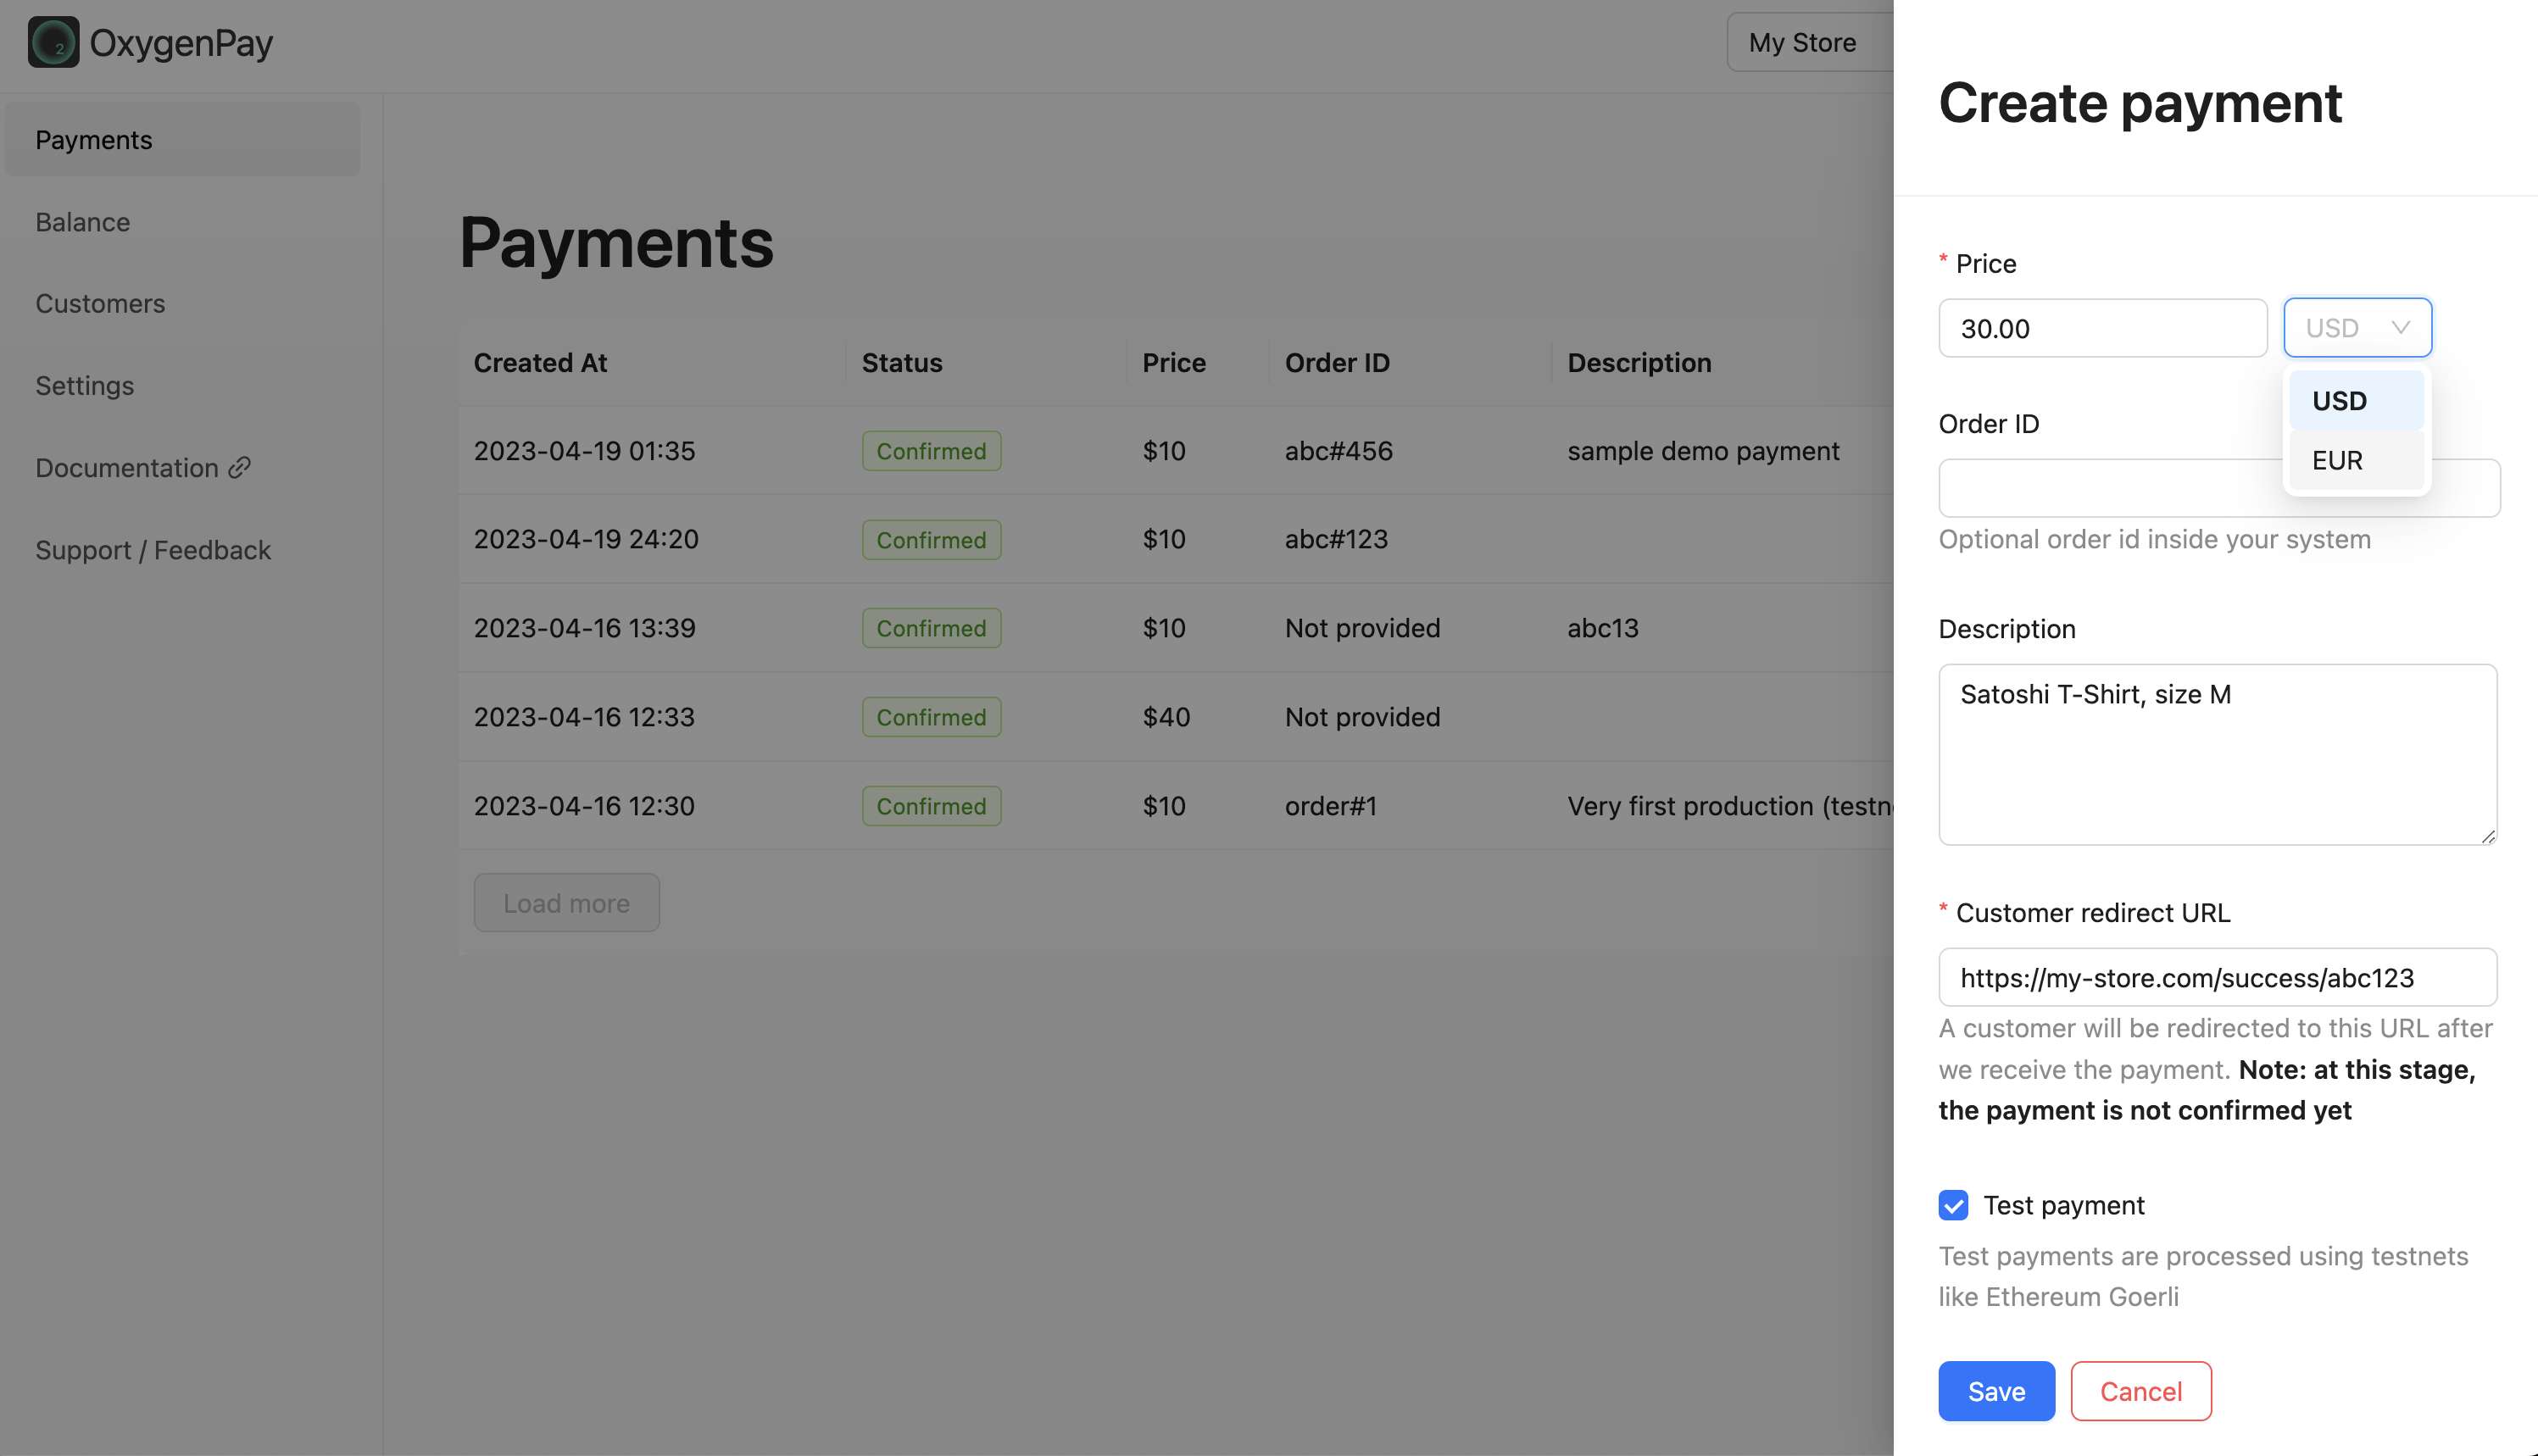
Manual creation
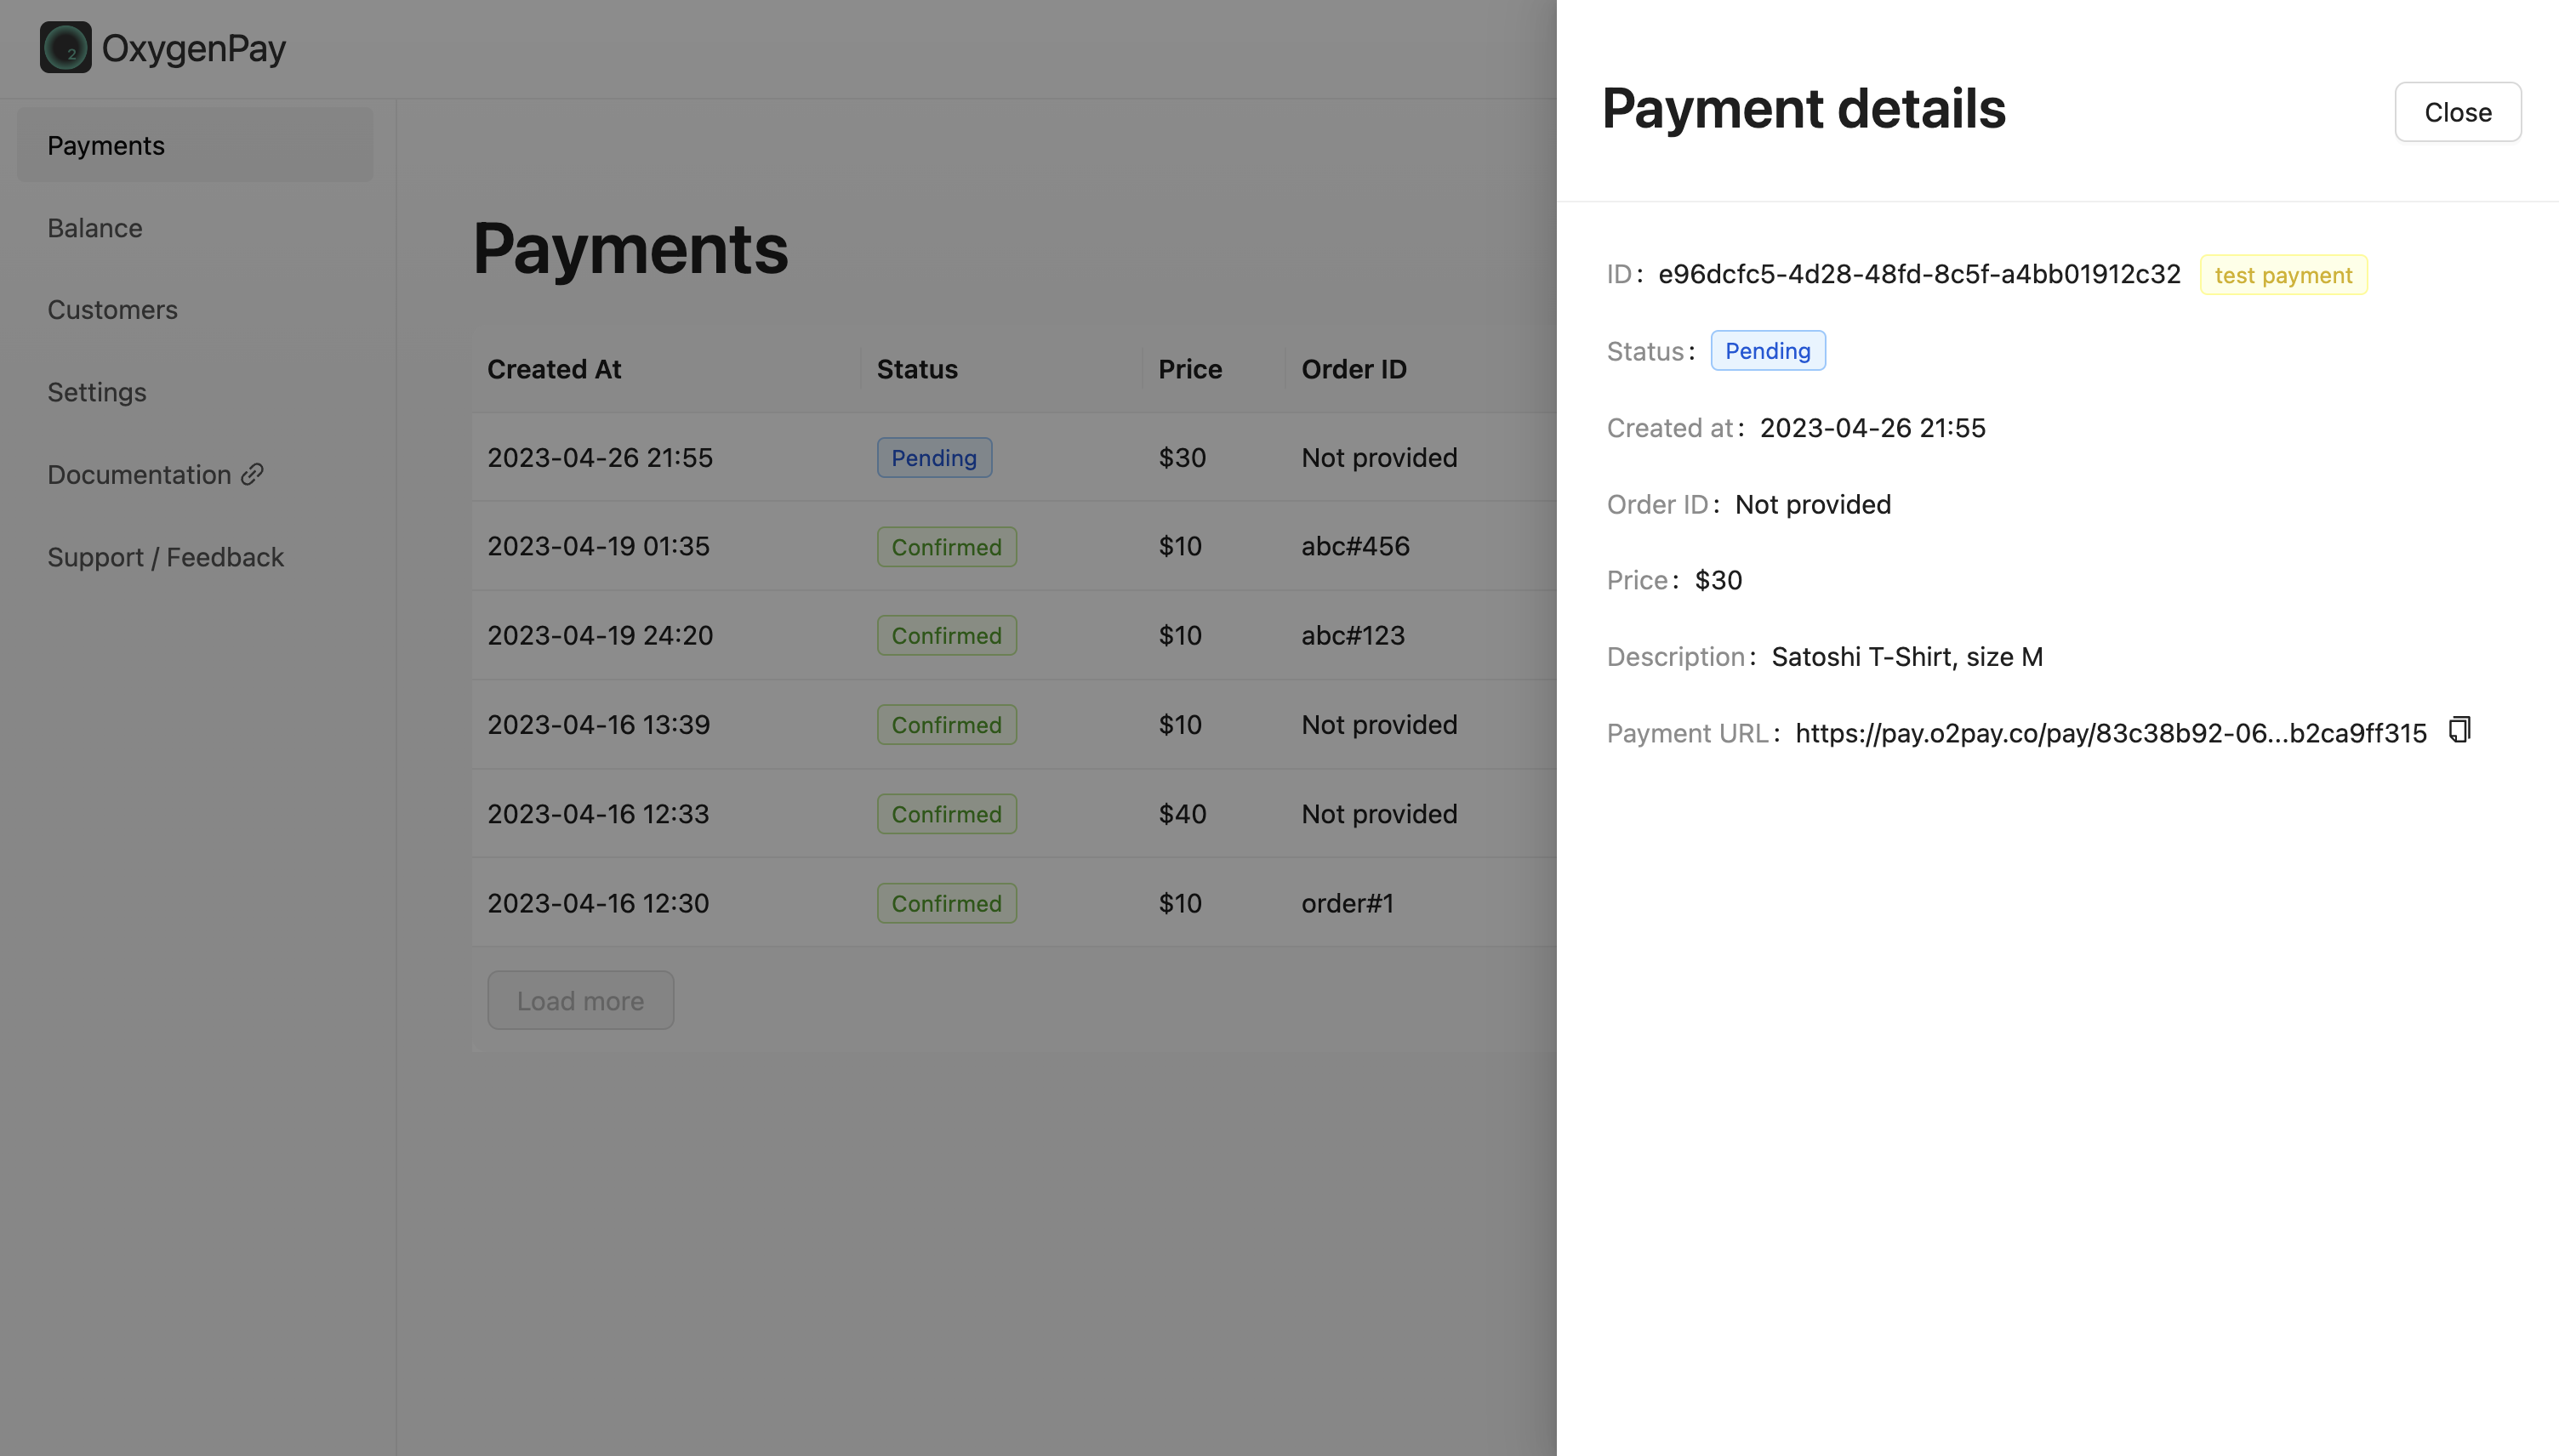
To manually create a payment, navigate to the Dashboard > Payments > New Payment. Enter the relevant payment information, and then click Save. In the payment details view, you will find a link to the payment invoice, which should be followed by the customer.
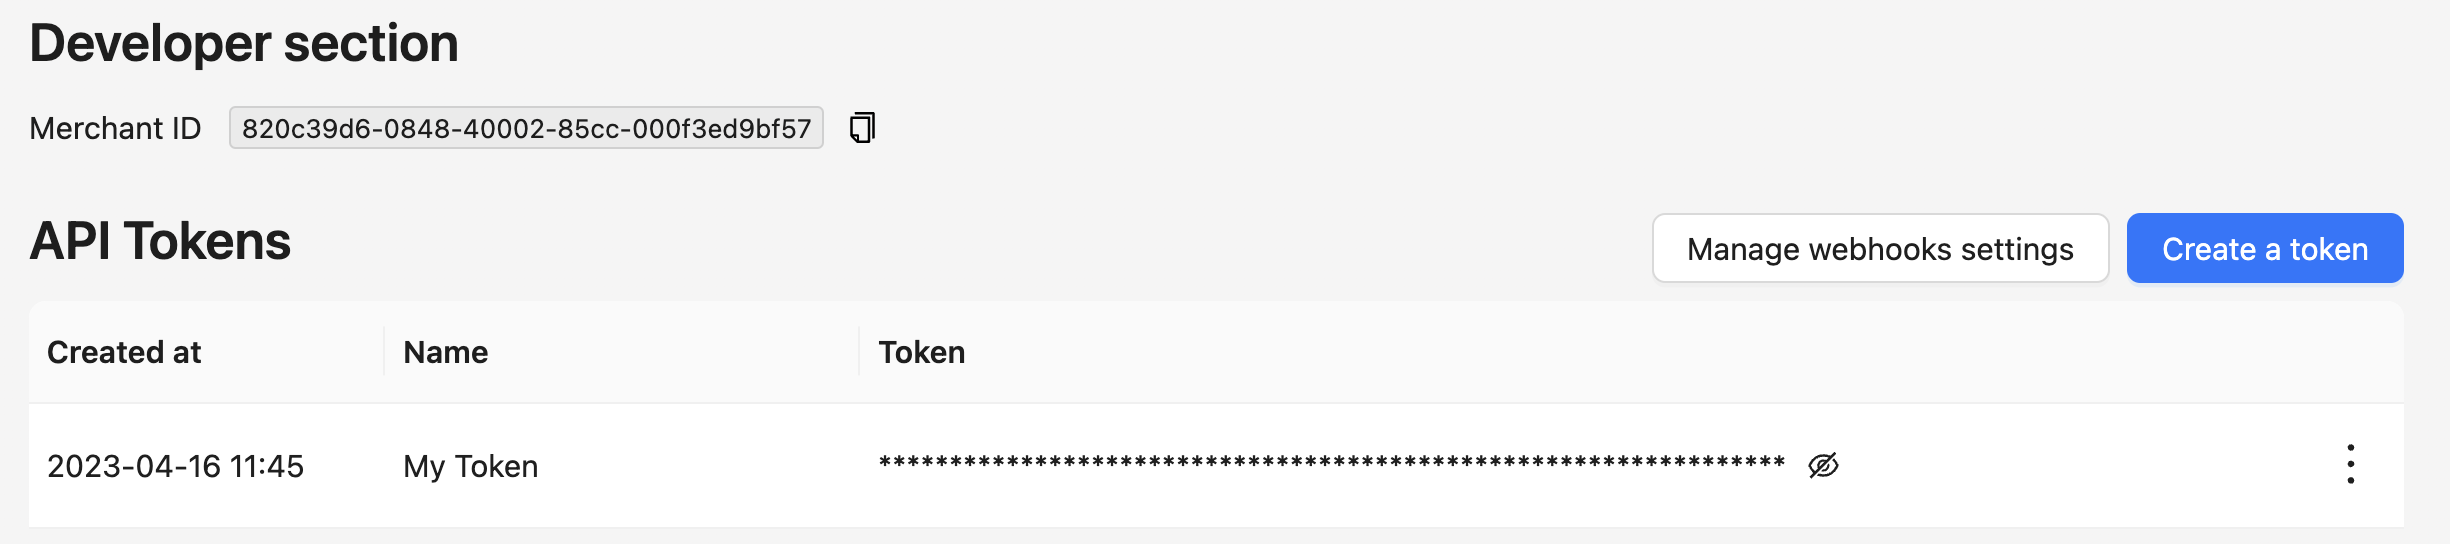
API Integration
- Create API token in Dashboard > Settings > Developer Section > Create a token
- Configure webhook notifications in Dashboard > Settings > Developer Section > Manage webhook settings
- Use
createPaymentendpoint to create a payment. You can find more information in the API Reference